This is how you order a new contract for employees with work assignments, monthly employees, and hourly employees in the DFØ-app.
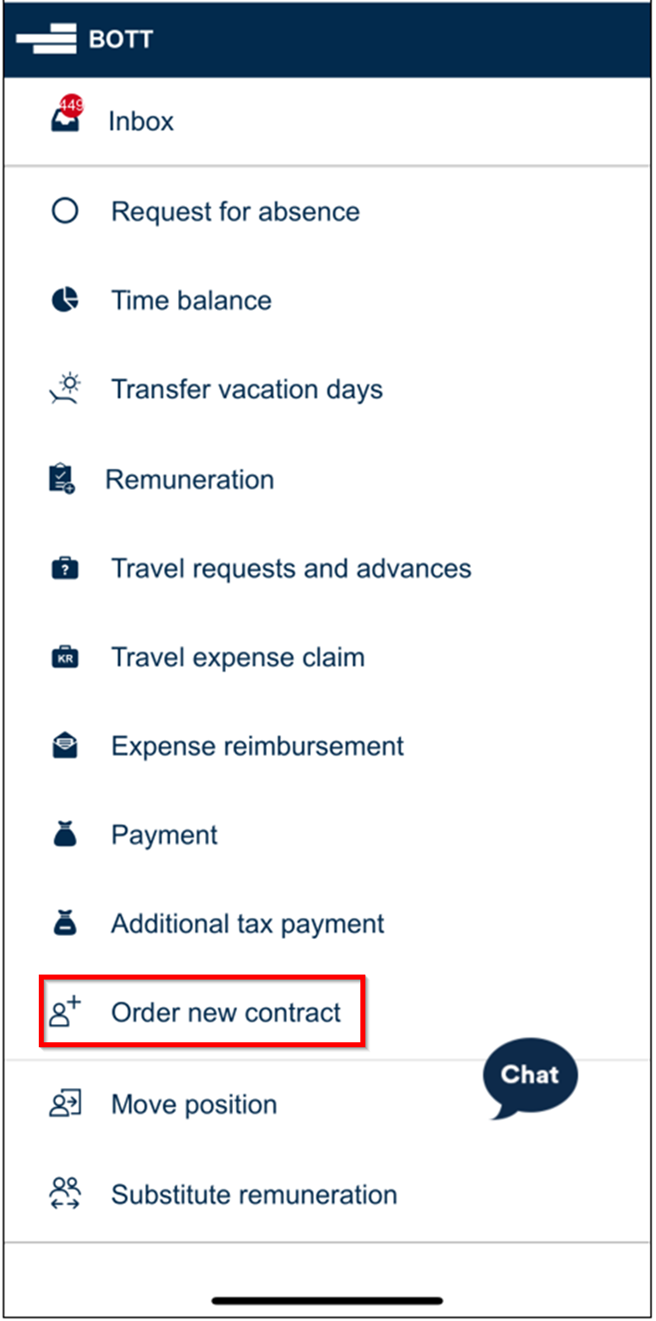
All employees have a menu option called "Order new contract" in the DFØ-app.
With this option you can:
- Order a new contract for a desired resource.
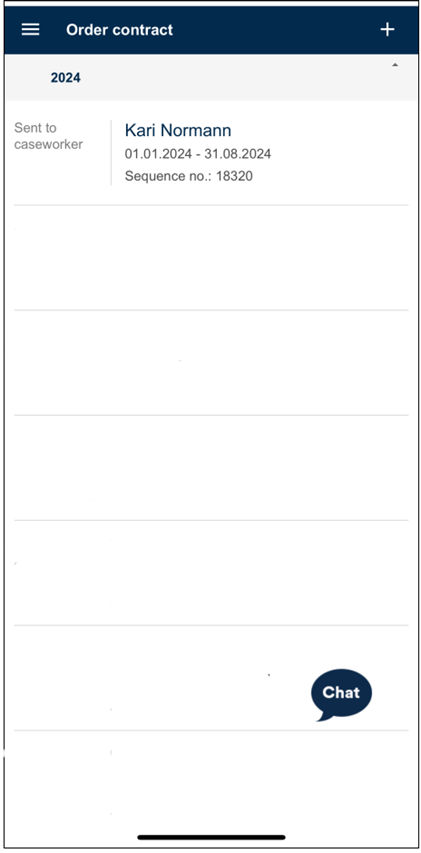
- See previously sent orders.
- Copy previous orders by pressing the applicable line and then pressing the three-point menu and selecting "Copy".
To order a new contract, press "+" in the top right corner.
The form is divided into three tabs:
- Who
- Contract
- Task
You can see these three tabs in the blue menu at the top.
The floppy disk icon in the top right corner can be used to save a draft.
Under the three-dot menu you will find "Display contract". This can be used to preview the draft of the contract template that will be generated once the contract is processed by the caseworker and manager.
After completing the order, use the “Send” button to forward it for processing by the caseworker. The "X" button located in the top left corner can be used to exit the form.
Who is the contract for
Enter the information about who the contract is for under the "Who" tab.
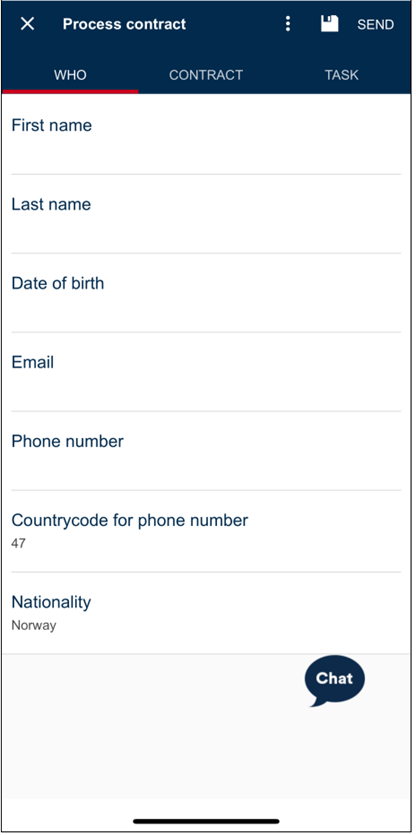
The fields “First Name”, “Last Name”, “Email”, and “Phone number” are free text fields.
The field "Countrycode for phone number" displays a list of all country codes. Please select the correct country code for the registered phone number.
The field "Nationality" displays a list of all countries, and you select the country from the list. All of the above fields are required.
In addition, you can select the date of birth from the calendar function. This field is optional.
Contract information
Enter information regarding the contract terms under the "Contract" tab.
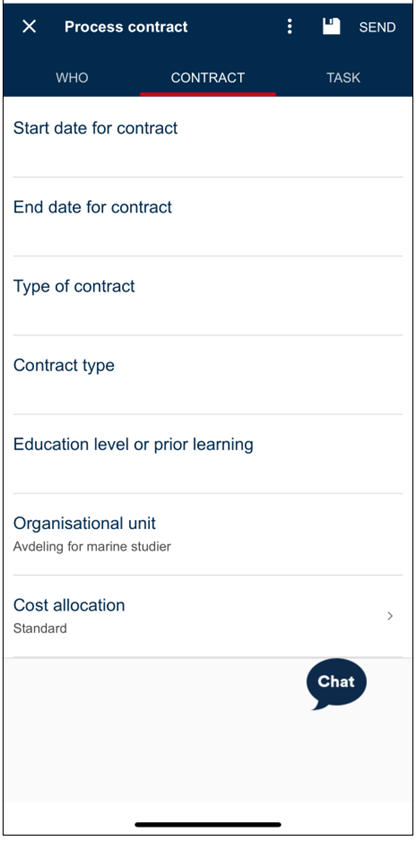
Select the start date and end date for the contract from the calendar function.
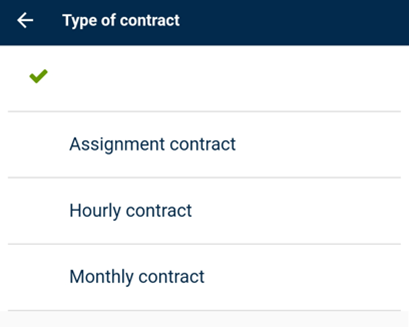
In “Type of contract”, select assignment, hourly or monthly contract.
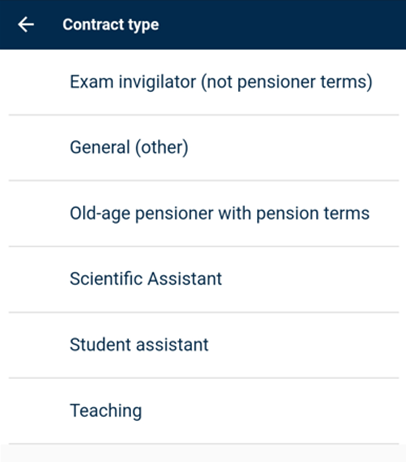
Select the contract type for the employee in the "Contract type" field.
In "Type of contract", select assignment, hourly or monthly contract.
Select the contract type for the employee in the "Contract type" field
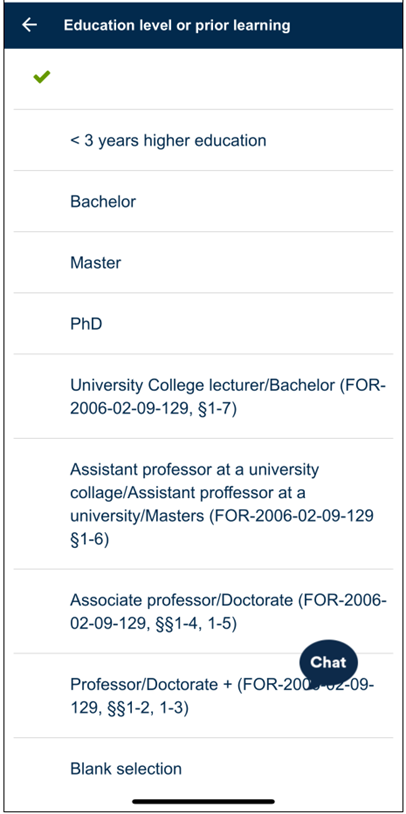
Select the relevant education level or prior learning from the dropdown menu. This field is required, but you can choose "blank selection" if it’s not relevant for the order.
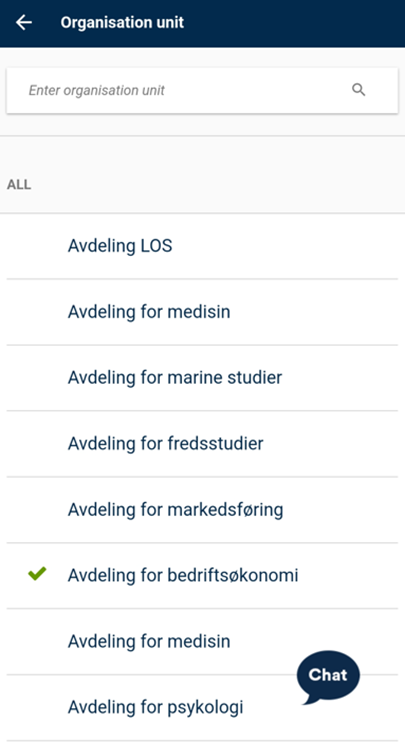
The field "Organisational unit" will be prefilled with your own organisational unit. You can change this information if you have the necessary authorisation (A290).
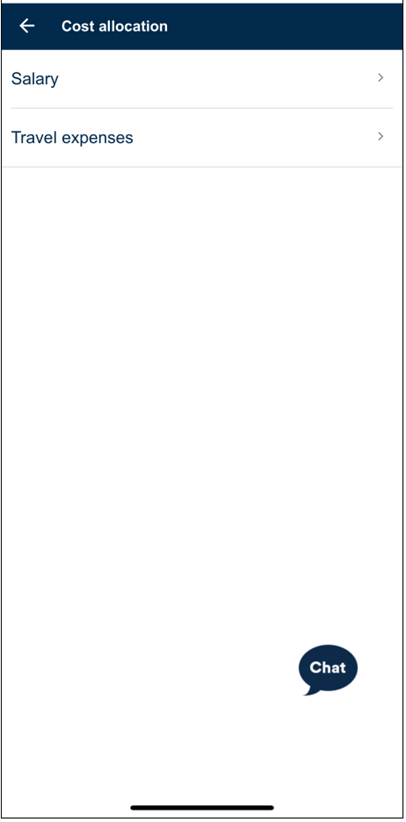
In the "Cost allocation" field, you can register any deviating cost allocation. The cost allocation will be prefilled with "Standard", which retrieves values from the selected organisational unit. The cost allocation can be changed for both "Salary" and "Travel expenses".
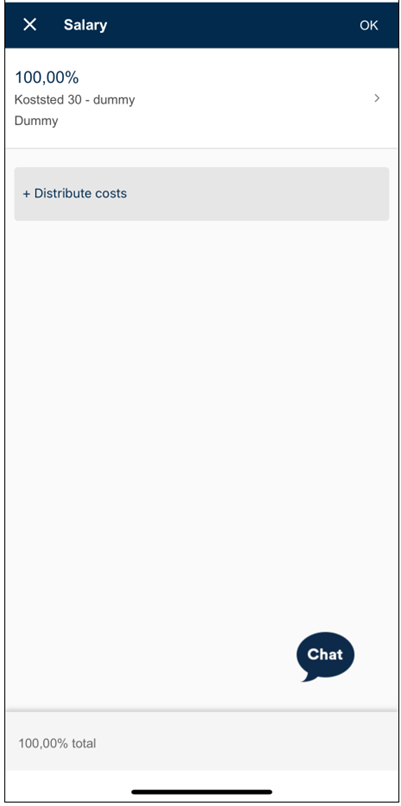
You can also split the allocation by percentage, using the "+ Distribute costs"-button, but this function is only available for monthly contracts. For hourly and assignment contracts, the cost allocation can be split for each task in tab 3.
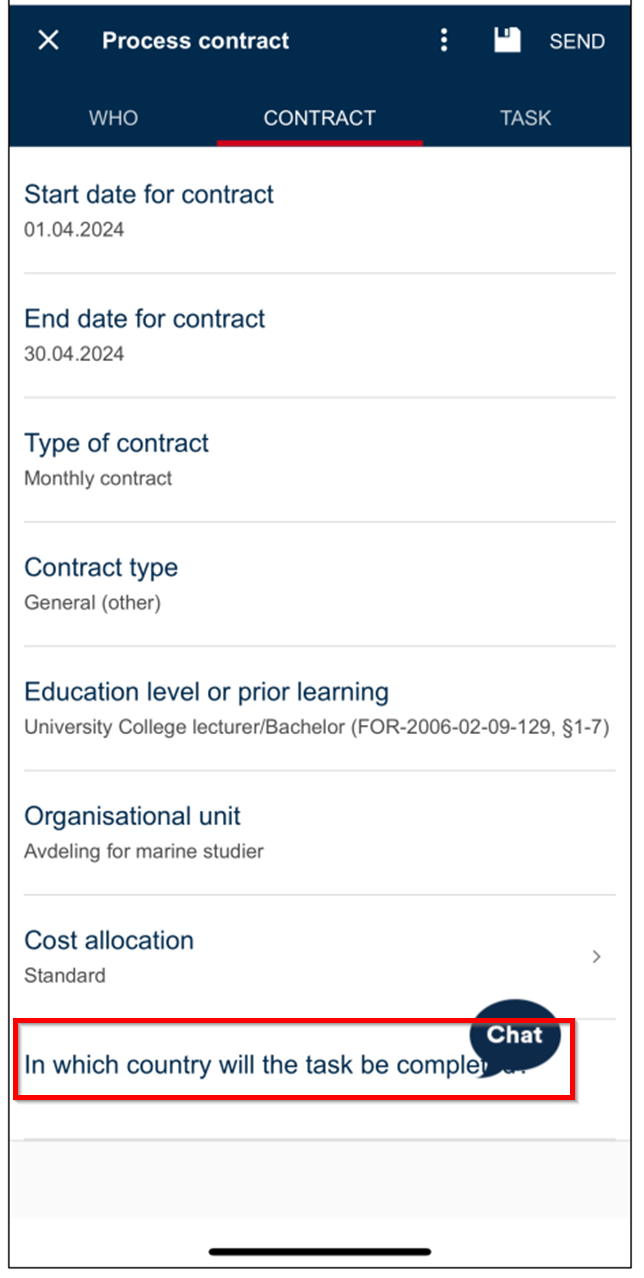
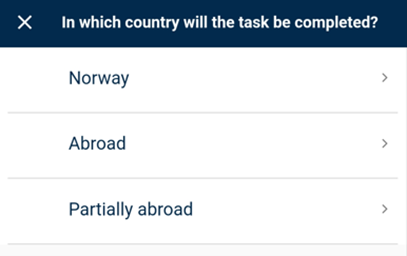
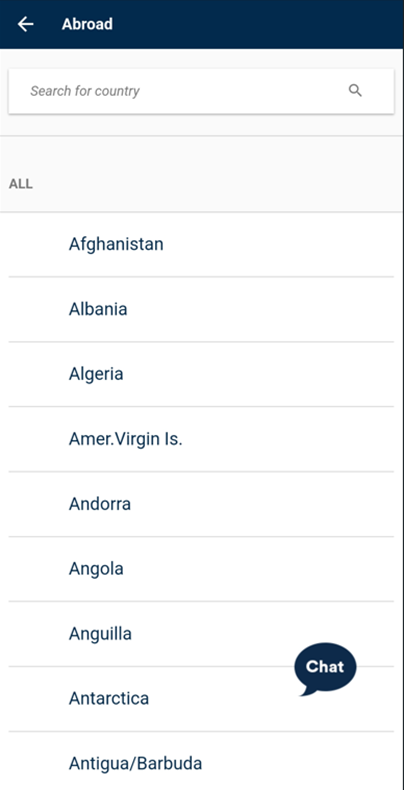
If a monthly contract is selected, you will be asked about the country of work. It is not an obligatory field, but here you can choose between "Norway", "Abroad", or "Partially abroad". If you choose "Abroad" or "Partially abroad", a field will appear where you must select the country. The country of work is selected in tab 2 for monthly contracts. For hourly and assignment contracts, the country of work is selected under the task in tab 3.
Tasks for the contract
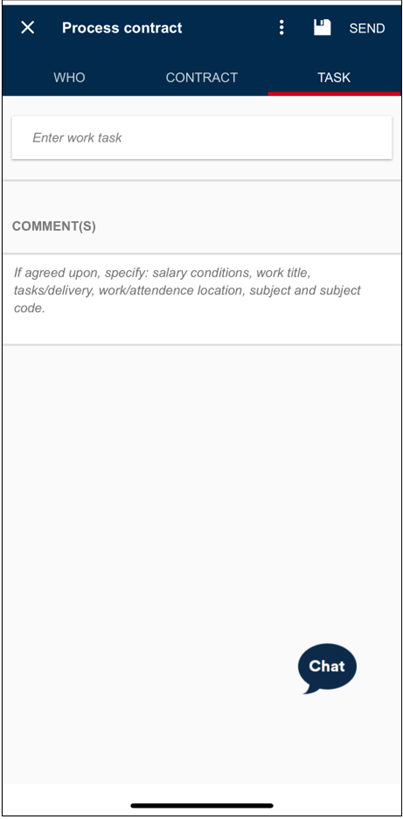
In the tab "Task", you can enter information about the tasks to be performed.
In a monthly contract, a text field will appear where you can provide information about the work task. This is not required, and you can submit the order without adding a work task.
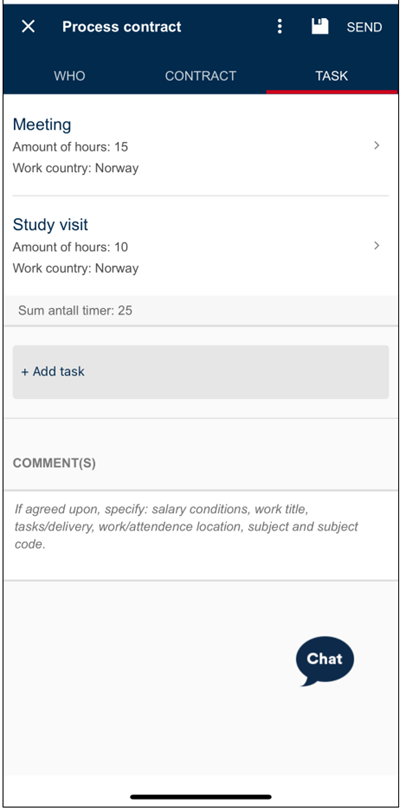
In an hourly or assignment contract, a field will appear that says "+ Add task."
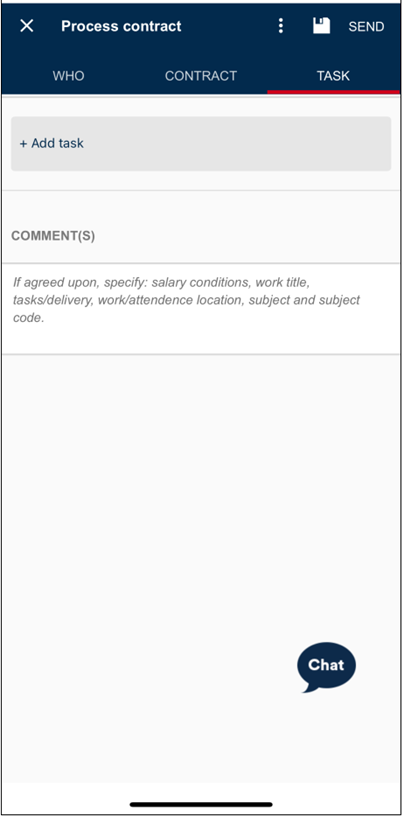
It is not required to add tasks to the order. However, if a task is registered, it is required to fill out all fields. Click on “+ Add task”.
For hourly contracts: Select the task from the dropdown menu, the country of work, any other cost allocation, and enter the amount of hours. If the contract type "Teaching" is selected, you must also provide information about the course code and weighting. Click "Save" at the top right to save the task.
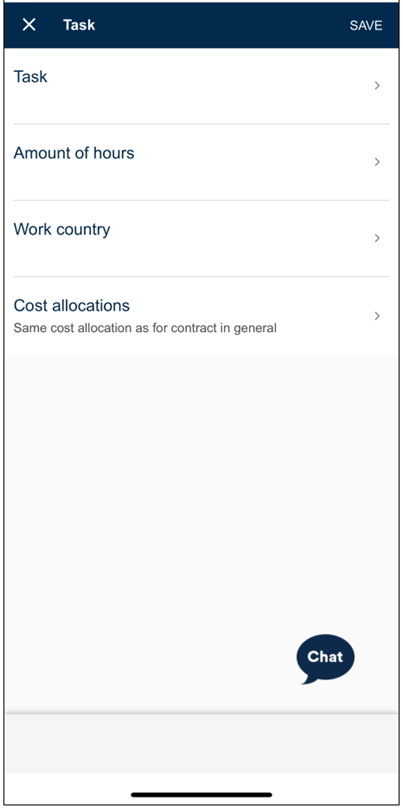
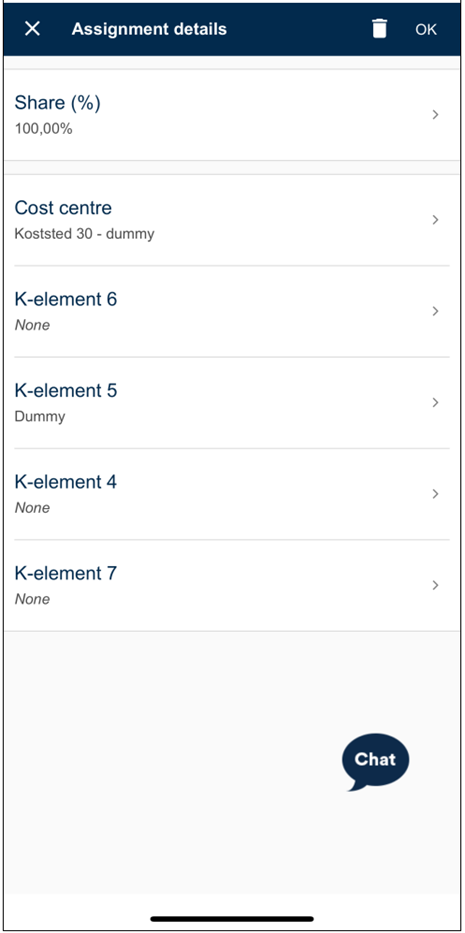
It is possible to register different cost allocations per task, except for cost centre. The cost centre for the entire contract is selected in tab 2 "Contract". Once the tasks are registered, you will see an overview in the task tab. Clicking on a task allows you to edit or delete it.
For assignment contracts: Select the task from the dropdown menu, the country of work, any other cost allocation, and enter the amount. Click "Save" at the top right to save the task.
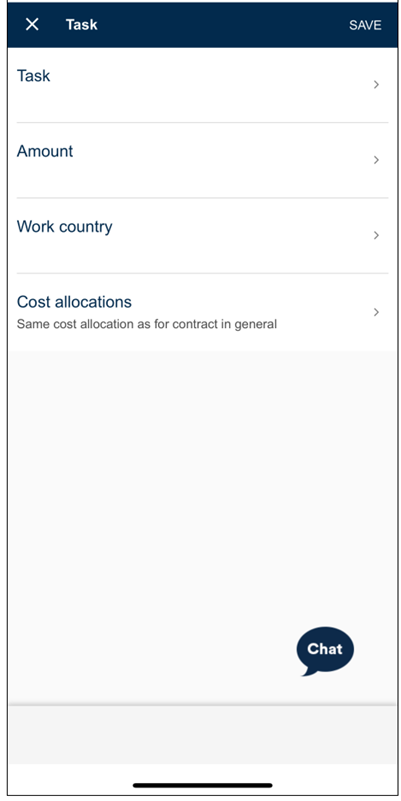
Once the tasks are registered, you will see an overview in the task tab. Clicking on a task allows you to edit or delete it.
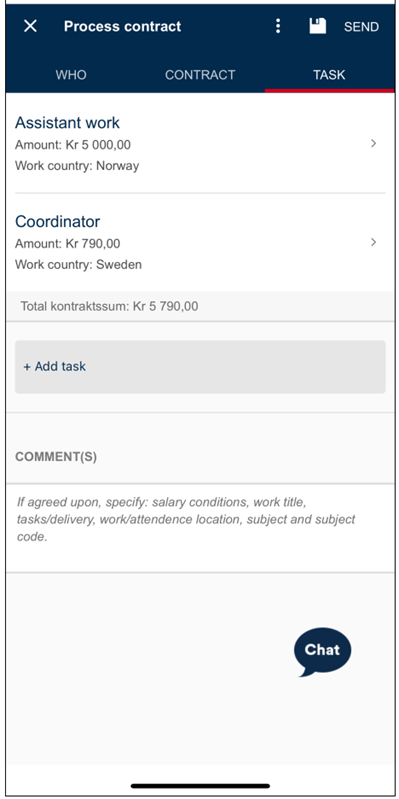
You can enter information to the caseworker in the "Comments" field. As the example text says, this can for instance be related to salary conditions, work title, tasks/delivery, work/attendance location, subject and subject code, or any other relevant information.
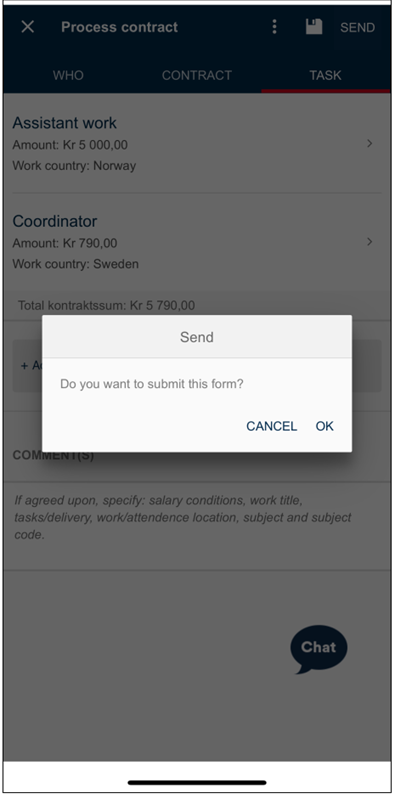
To save a draft, click on the floppy disk icon in the top right corner. To view a draft of the contract template, click on the three-dot menu and select "Display contract." To submit the form, click on "Send" in the top right corner. Then click "OK" in the confirmation box.
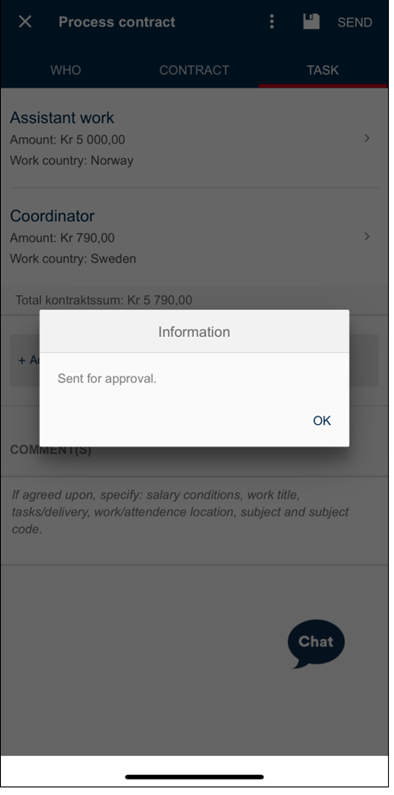
A new information box will appear confirming that the form has been submitted.
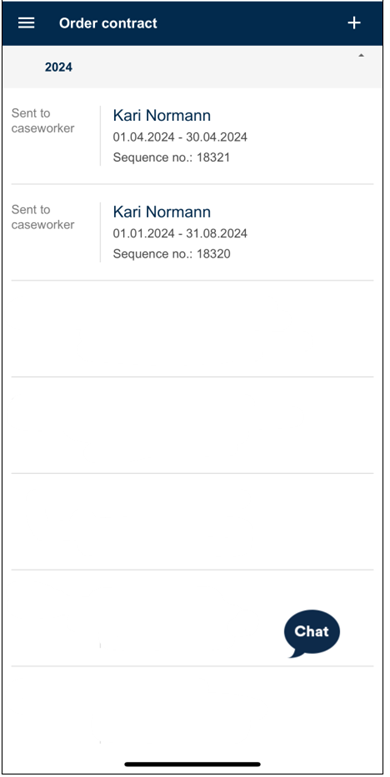
You will be automatically taken back to the overview where you can start creating a new order. Each form will be assigned a unique sequence number.
Kontakt
- Kundesenter på nett
- lonn [at] dfo.no (lonn[at]dfo[dot]no)
- 40 63 40 21