This user guide shows how to submit your hours for payment in the self-service portal if you have an hourly contract. You can also see what to do if the time sheet is returned to you for correction.
Submitting a time sheet in the self-service portal
Log in to the self-service portal and click the tile "My contracts".
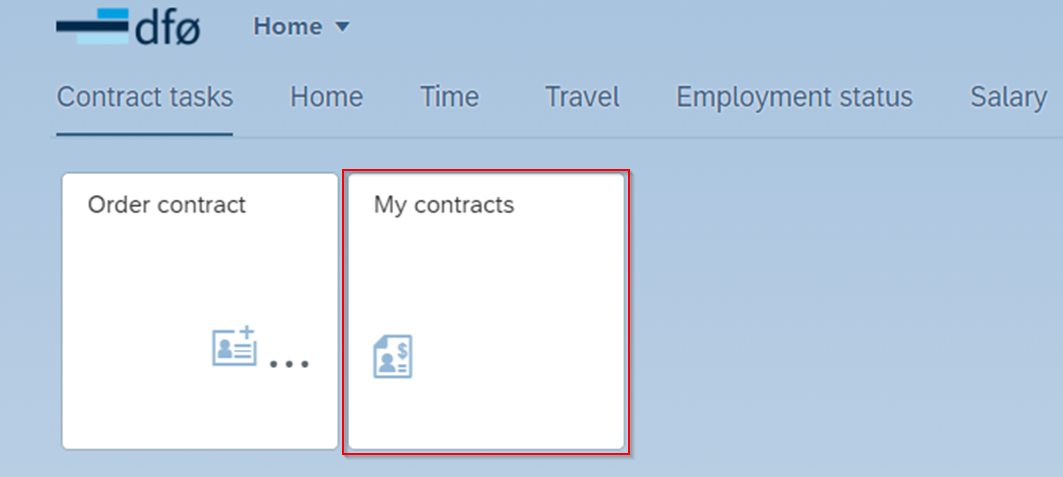
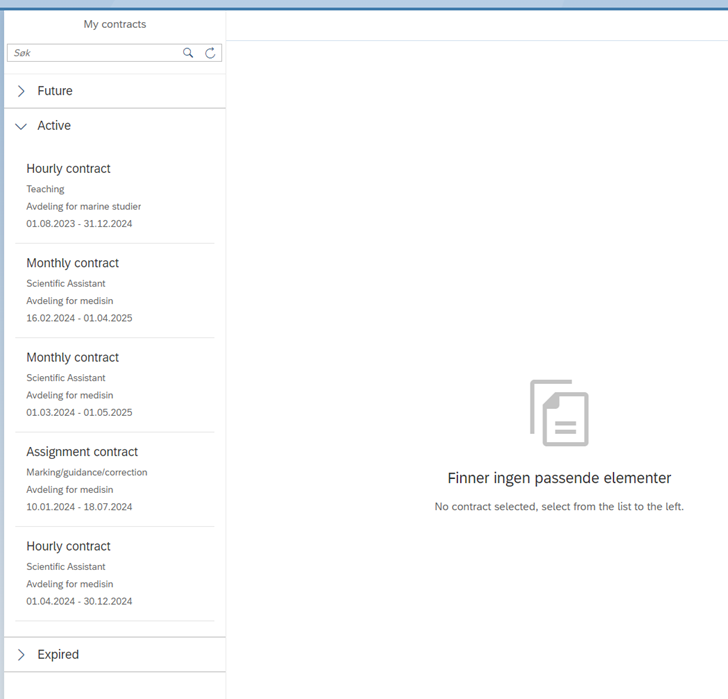
An overview of active, future, and expired contracts will appear. You can register hours as long as you have access to the self-service solution. To start registering hours, click on the relevant contract. You will get an overview of the contract terms.
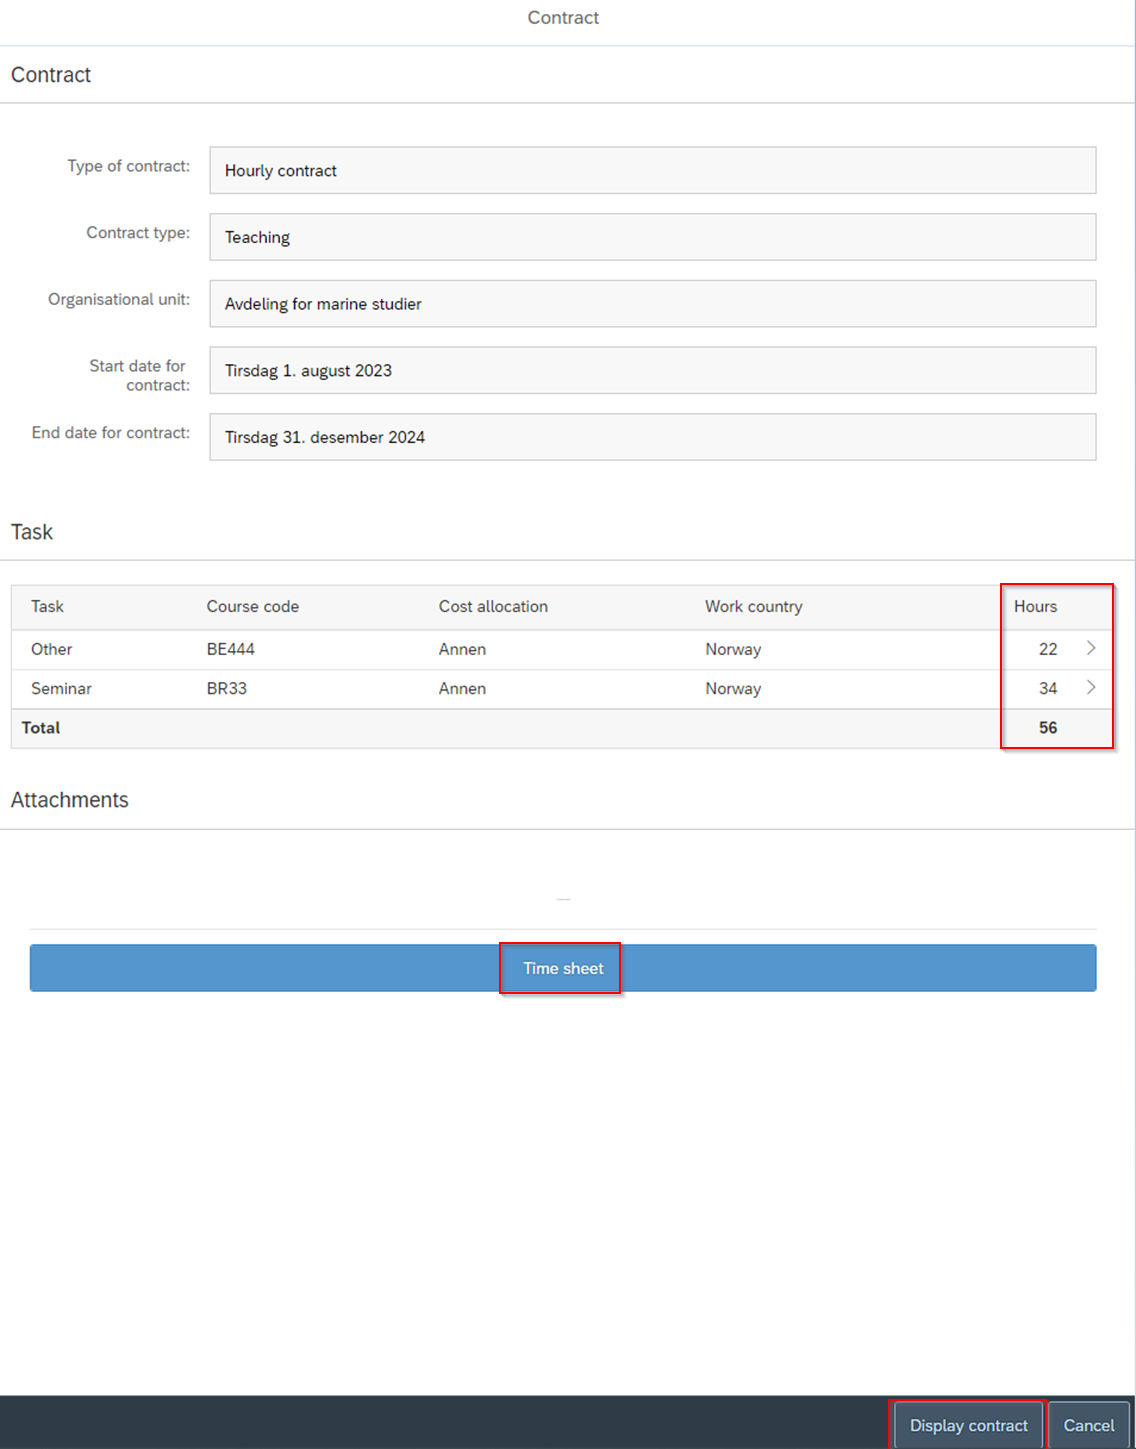
Click the "Display contract" to the bottom right corner to view a copy of the signed contract. In the "Hours" column, the number of hours originally agreed upon in the contract is displayed. Below the tasks there is a button called "Time sheet". Click here to register hours.
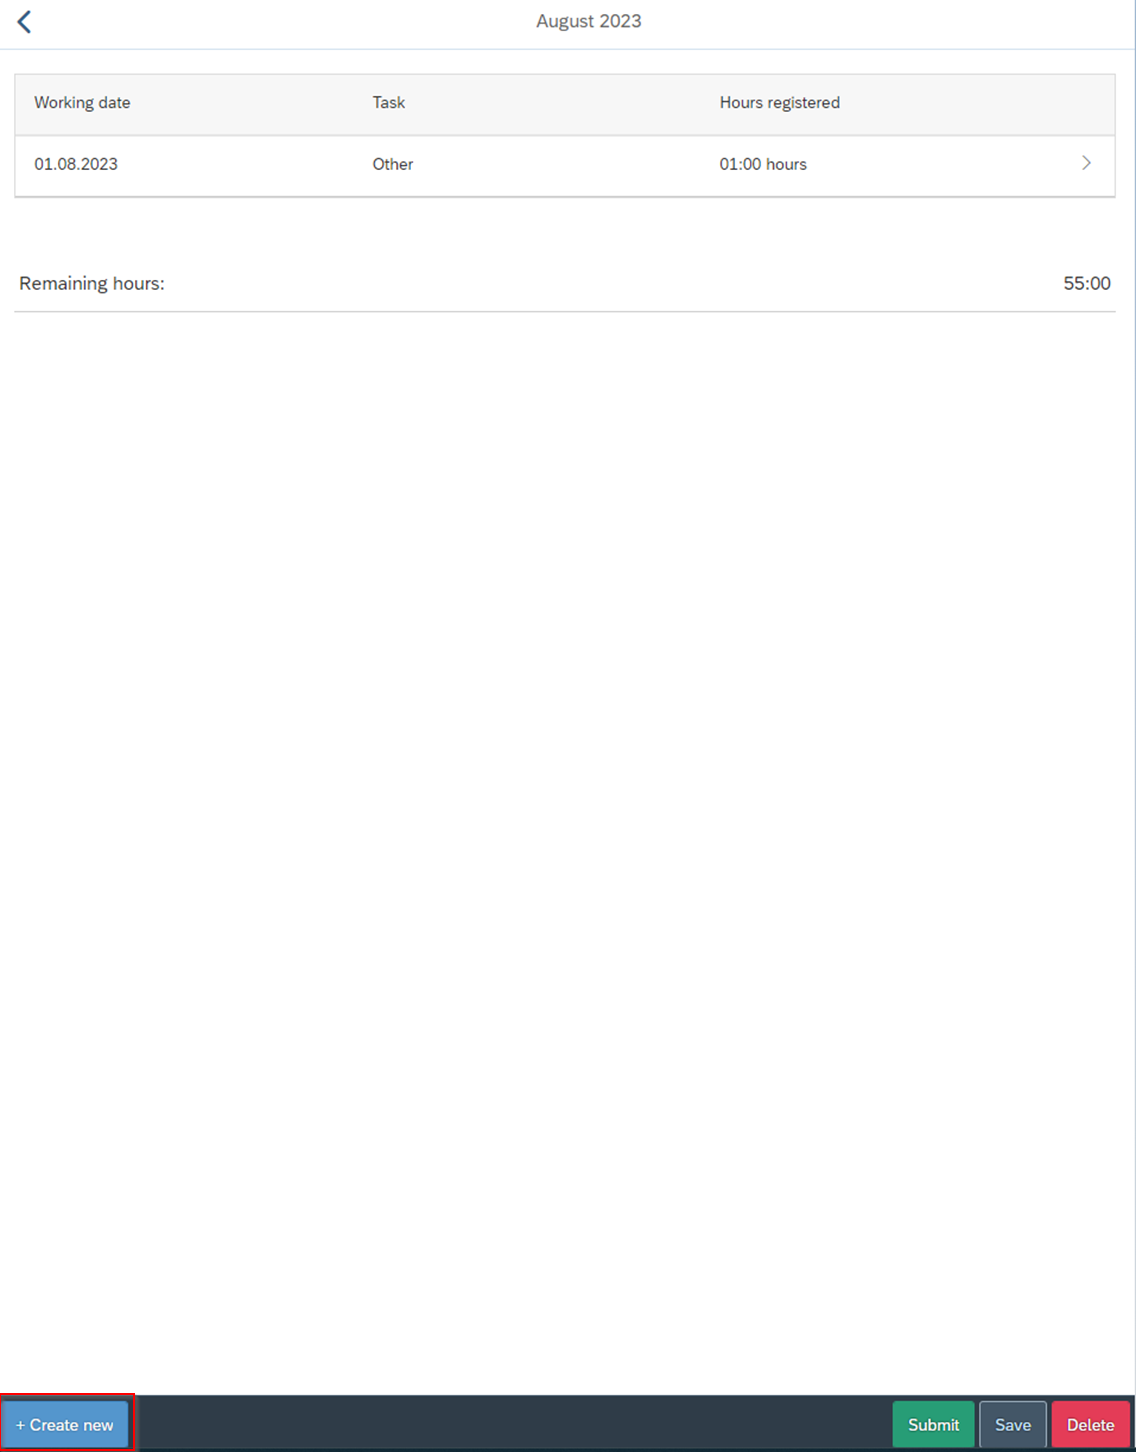
In the "Time sheet" section, a monthly overview of the contract appears. At the bottom of the page, you can see how many hours remain in the contract. To register hours, click on the relevant month.
If any hours have been recorded earlier in the month, they will show here. To register a new entry, click on "+ Create new" to the bottom left corner.
In the next screen you do the time registration. Here you need to enter the date, hours, task and any other work country and cost allocation if applicable.
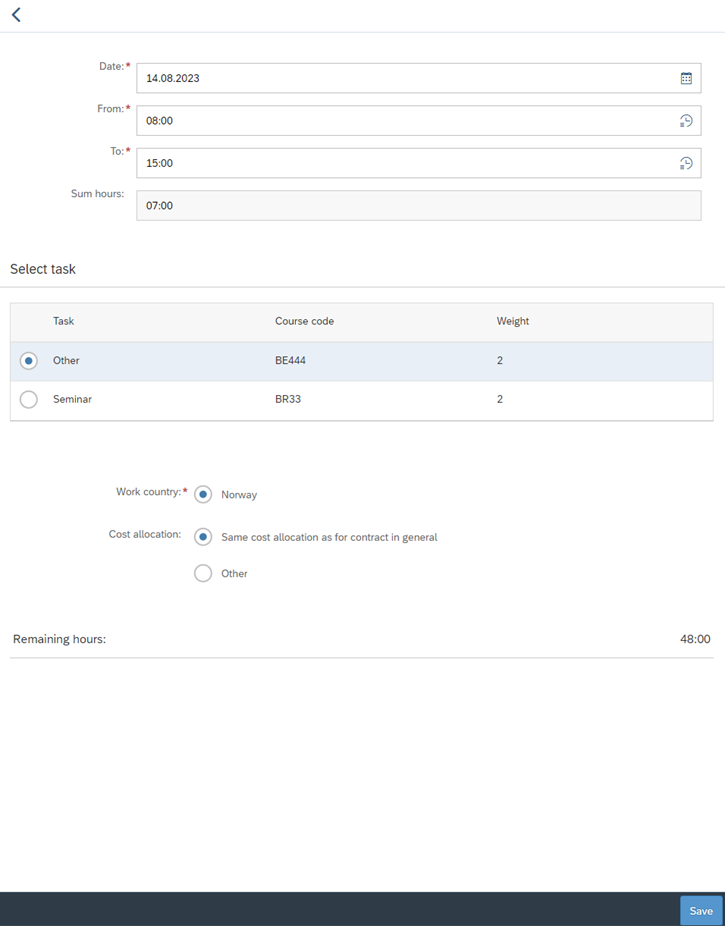
Enter the relevant date in the "Date" field. You can only choose a date in the month in which the registration is being made. If the contract starts on March 15th for instance, you can only register hours from that date. It is not possible to register more hours than the remaining balance.
Enter the time you have worked in the "From" and "To" fields. Click the icon and chose the time from the clock or enter it manually.
The "Task" field will be pre-filled and not editable if the contract contains only one task. If there are multiple tasks in the same contract, or if it has the same work task with different course codes, you must click on the "Task" field and select the correct one from the list.
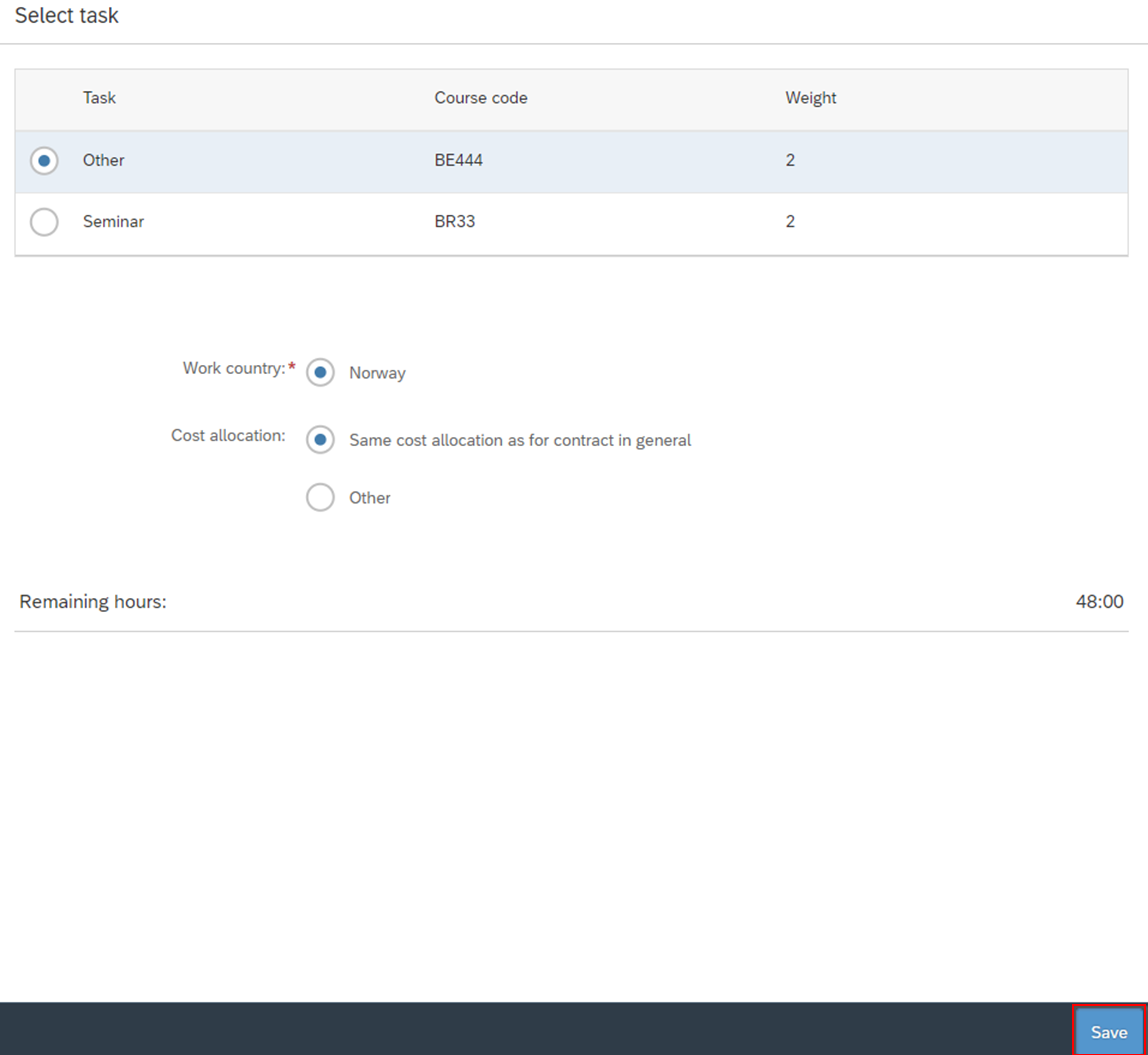
The "Work country" field is pre-filled if it was specified in the contract that the work is to be performed either in "Norway" or "Abroad". If "Partially abroad" is selected, you must choose the country from the list.
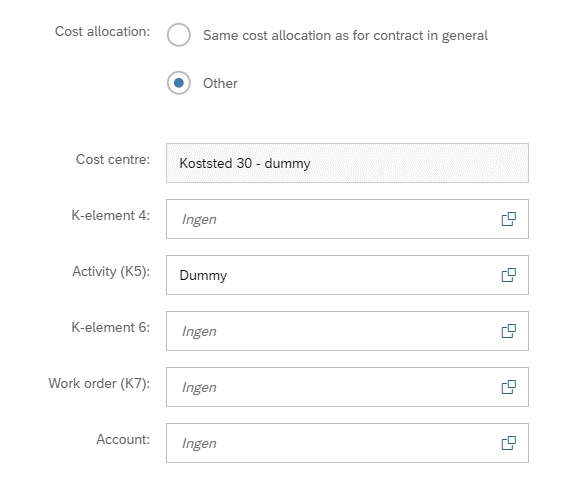
You can change the cost allocation by clicking on "Other". The allocation is pre-filled with information from the chosen task. All allocation elements except for the cost centre can be changed if necessary.
When the registration is complete, click "Save" in the bottom right corner.
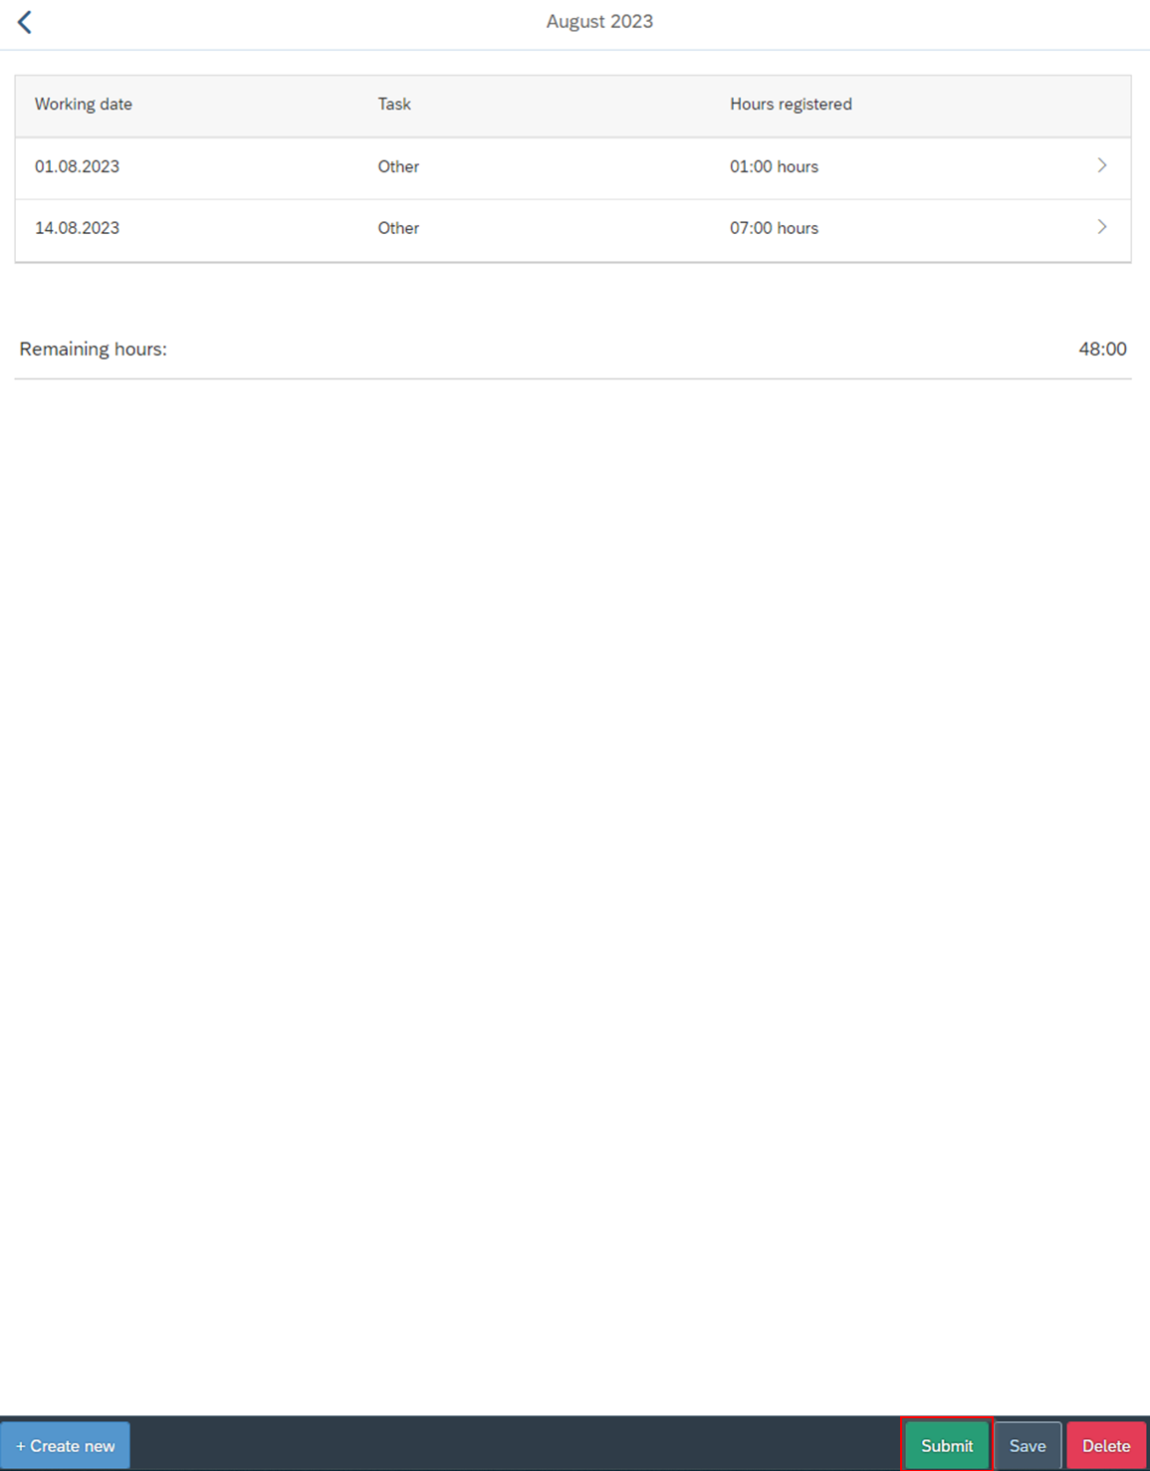
The overview of the time sheet for the current month will then be displayed. To submit the registration, click "Submit". Confirm the submission by clicking "Send inn" in the box that appears. Note that you can only submit one time sheet per month, so all hours for the relevant month must be registered before you submit the form.

Returned time sheet in the self-service portal
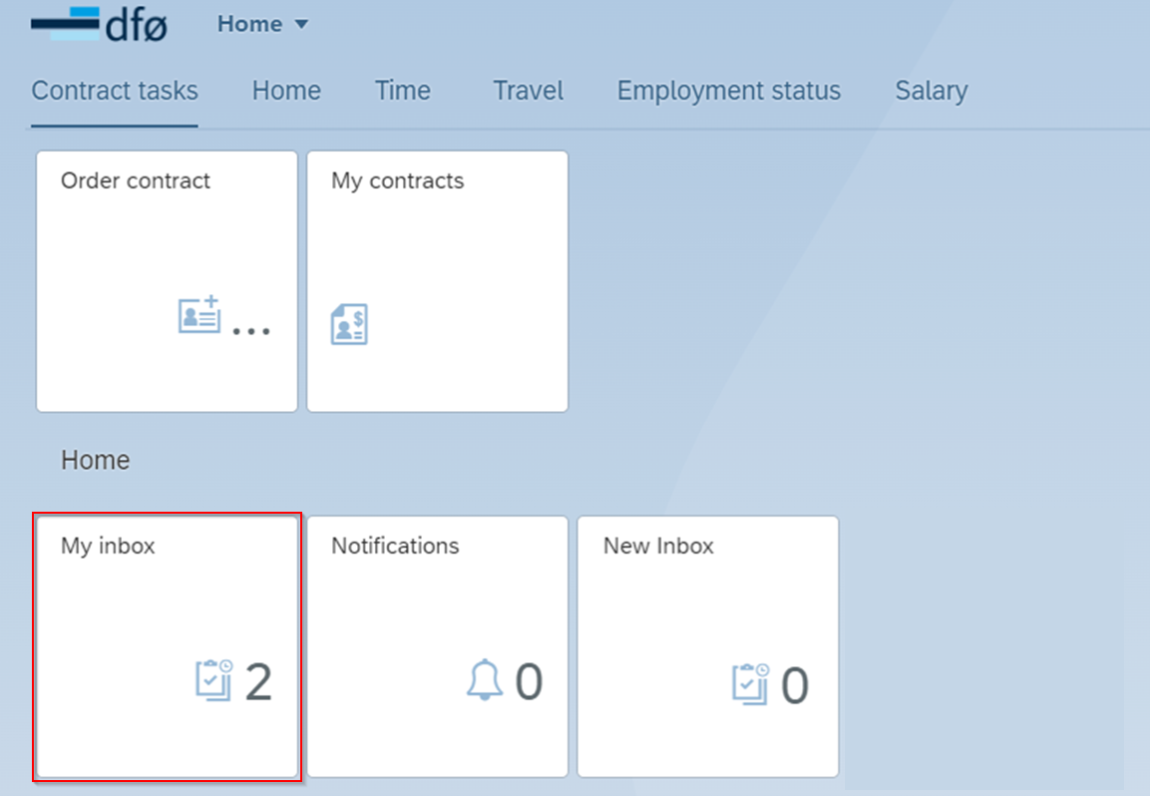
Log in to the self-service portal and click on the tile "My inbox". The number of tasks in the inbox is displayed in the bottom right corner of the tile.
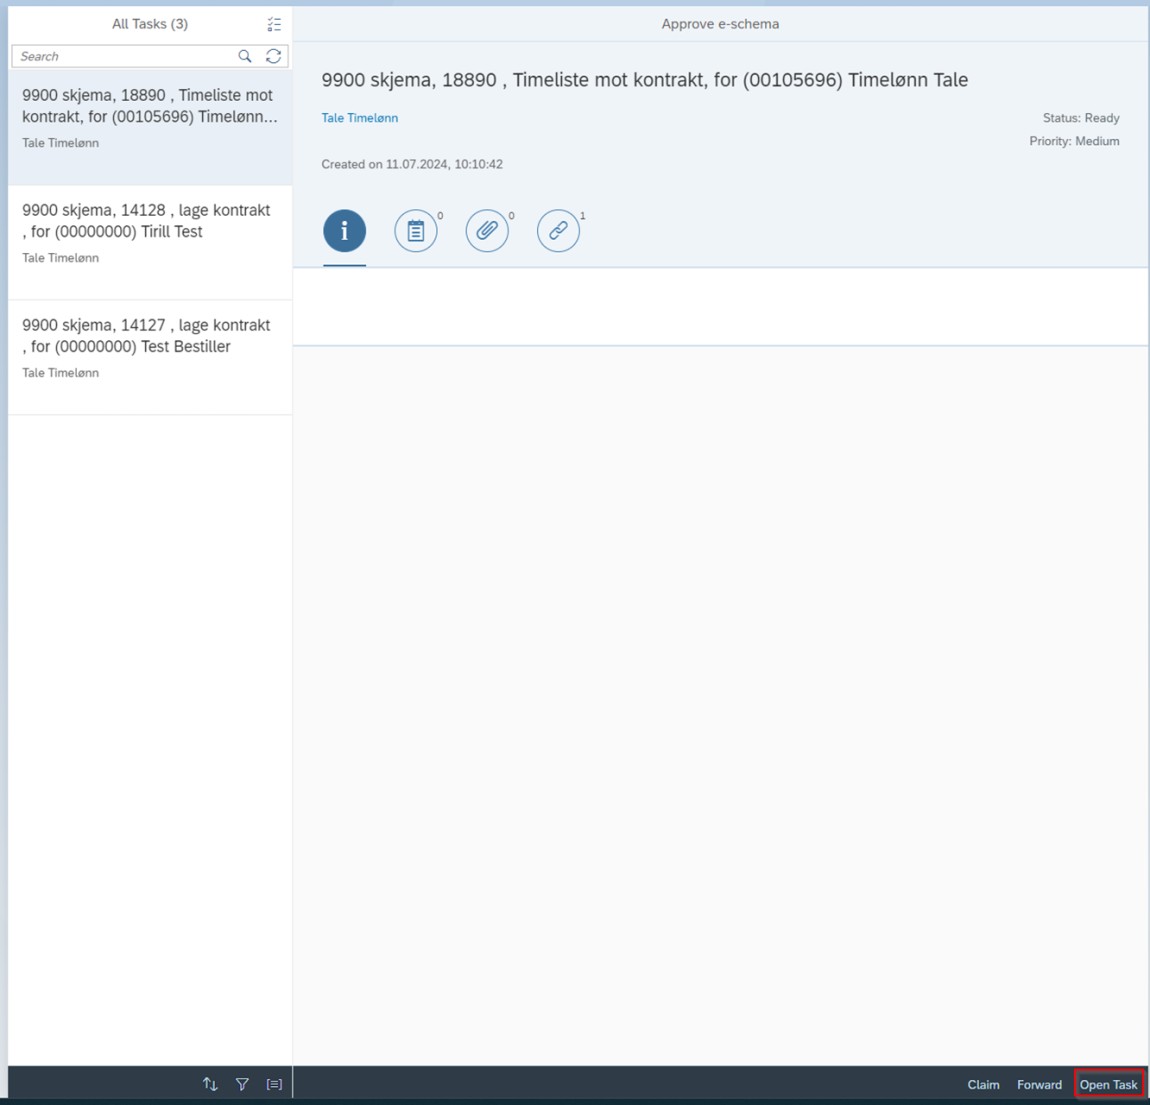
Find the task "Time sheet against contract" (Timeliste mot kontrakt). Click "Open task" to the bottom right corner.
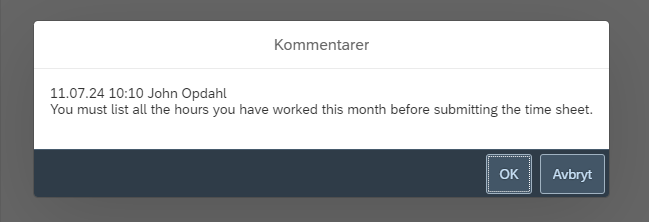
The message from the caseworker will appear in the information box in the middle of the screen.
The next page displays all submitted hours. You can add more hours by selecting "+ Create new". You can change the hours already submitted by clicking on the relevant line. This is done in the same way as explained under "submitting a time sheet". When the changes are made, click "Submit" in the bottom right corner. To delete the form, click "Delete".
Kontakt
- Kundesenter på nett
- lonn [at] dfo.no (lonn[at]dfo[dot]no)
- 40 63 40 21