This is how you register a remuneration in the self-service portal.
Remember that you can also register a remuneration in the DFØ app.
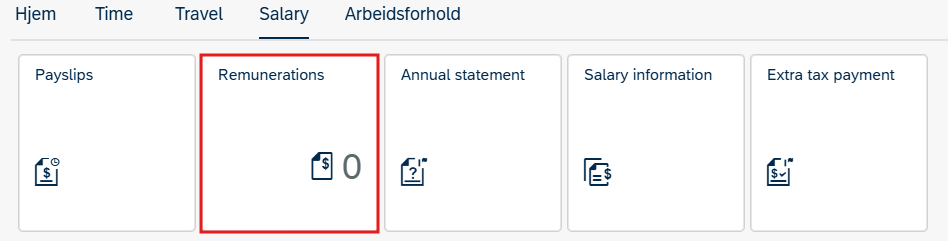
To register a remuneration, click Remunerations from the main menu.
1. Purpose
You can see all your remunerations in the left column of the page. Here you can see if the status of your remuneration is Sent, Approved, Paid, Returned, or saved as Draft. You can only edit remunerations with status Returned or Draft.
Click + Create new at the bottom of the left-hand pane.
Enter all mandatory information under Step 1 – Purpose.
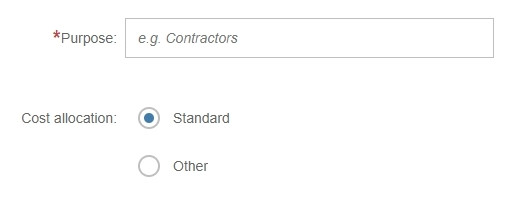
If you need to change the cost allocation, click Other.
The fields under cost allocation will be automatically completed. If you need to change the cost centre, or register a specific project code, you can add or change these values. If you have added multiple remuneration posts in the same form, the same cost allocation will be applied to all posts. If any remuneration post has a different cost allocation, you must register this in a separate remuneration form.
Click Step 2 to continue.
2. Remunerations
Click + Add remuneration to register a new remuneration post.
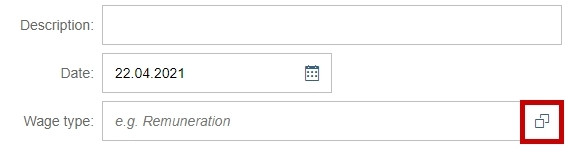
Complete the fields Description and Date.
Click the symbol in the field Wage type and select the correct wage type from the list.
Depending on the wage type selected, different fields may appear. Complete the fields that are relevant for you.
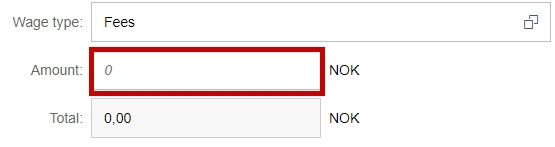
Finish by clicking OK in the bottom right corner.
If you need to add several remunerations, you can repeat the previous step. If you want to edit an existing remuneration, click the relevant post.
Click Step 3 to continue.
3. Attachment(s)
Click +Add attachment to add attachments. Select the correct attachment saved on your computer and click Open. The attachment needs to be a picture or a PDF-file.
Click the pencil to the right to delete or edit the attachment name.
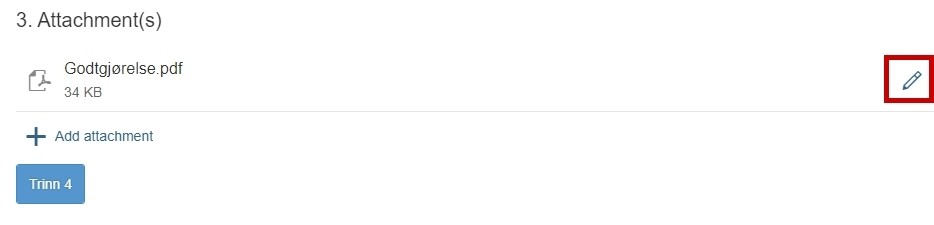
Click Step 4 to continue.
4. Comment
Here you can add a message to your approver/manager.
Click Go to submission page.

Review your registrations and make sure everything is correct. If you need to make changes, click Edit.
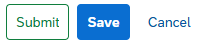
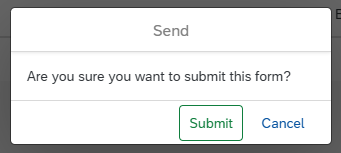
If you do not want to send the form right away, click Save. Click Submit in the bottom right corner to send the form. You cannot edit the form after it is sent.
A confirmation will appear.
Your form can now be found in the overview in the left-hand pane with a sequence number and status Sent.
When the form is approved the status will be changed to Approved. Your remuneration will be paid on the next payment date.
Payment dates
See the payment dates in the payroll schedule (in Norwegian).
Contact
Do you have questions about the content of this page?
Contact our customer service centre
- lonn [at] dfo.no (lonn[at]dfo[dot]no)
- (+47) 40 63 40 21