How to register a substitute for planned and unplanned absences in the self-service portal.
A substitute can perform all the tasks that an approver has in their inbox/absence approval.
Order access for substitutes from DFØ
It is a requirement that the substitute has the same access/authorizations in the system as the approver. Ordering new access, or changing existing access, is done by the specialist user in the organization, via the online customer center Kundesenter på nett. Make sure to indicate that the order concerns a substitute.
How to register a substitute
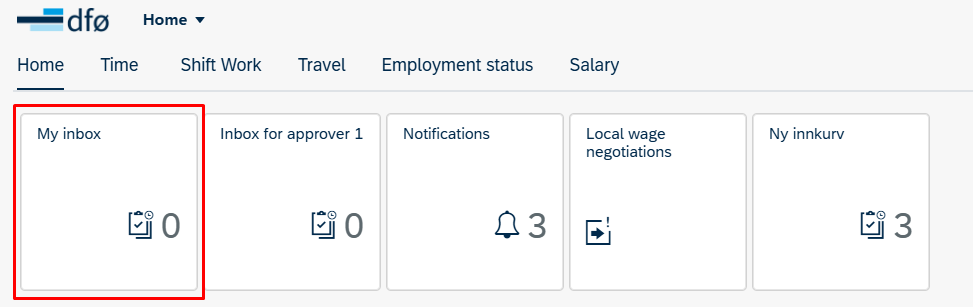
Go to My Inbox under the Home tab in the self-service portal.
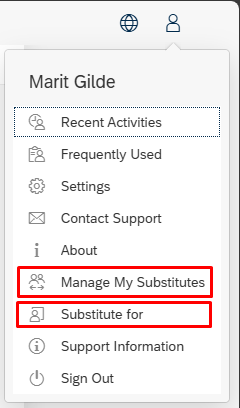
Click on the person icon at the top right.

Click Manage My Substitutes to set up a new substitute.
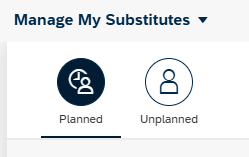
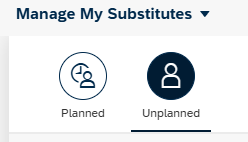
There are two types of substitute rules:
Planned: Your substitute will automatically receive your tasks in their own inbox. If you plan a longer absence, you can set up such a rule and determine the date it will apply from.
Unplanned: Your substitute does not automatically receive your tasks. However, if you become ill or are absent for another reason, the substitute can retrieve your tasks themselves.
Planned substitute
Select Planned.
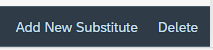
Then Add New Substitute at the bottom of the screen.

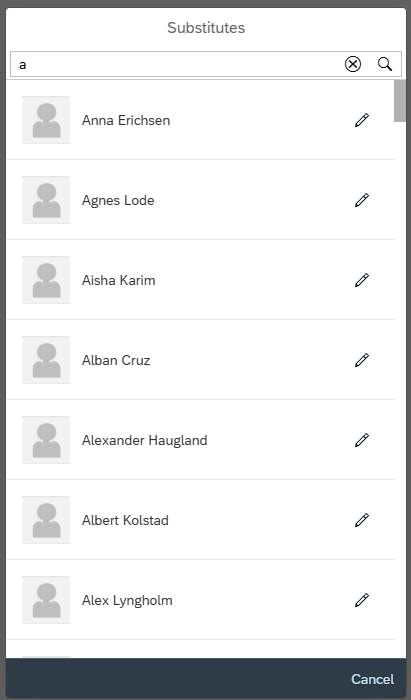
Search for the person who will be your planned substitute.
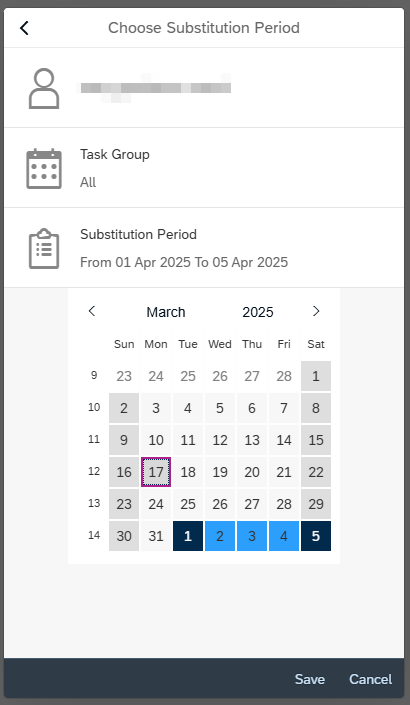
Select All Task Groups and period, and click Save.
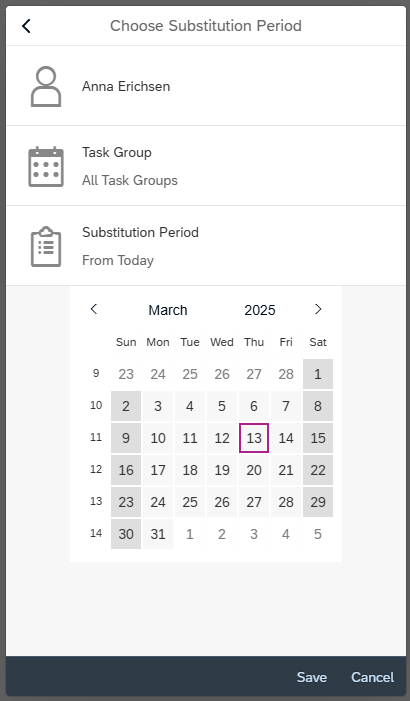
As of today, there is no difference between the task groups All and All Task Groups; the substitute will have access to all tasks in both cases.
Select two dates in the calendar to specify the period the person will be your planned substitute. First, choose the date the substitute will be valid from and then the date the substitute will be valid until. It is also possible to select the dates in reverse order.
Finally, click Save.
Unplanned substitute
Select Unplanned.
Then Add New Substitute at the bottom of the screen.
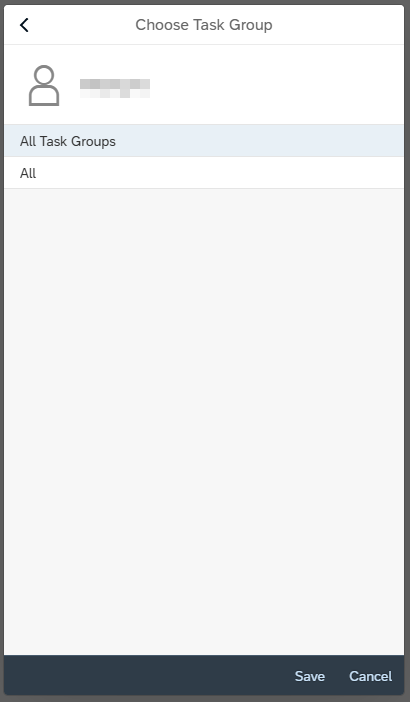
Search for the person who will be your substitute.
Select All task groups and click Save.
As of today, there is no difference between the task groups All and All task groups; the substitute will have access to all tasks in both cases.
When you register an unplanned substitute, it will automatically apply from today's date.
Delete substitute
You can delete a substitute under Manage my substitutes. Select the line with the registered substitute, and click Delete at the bottom right.
Transfer tasks
If you want to transfer tasks as an unplanned substitute, click on Substitute for.
If you are set up as a planned substitute, you will see an empty window.
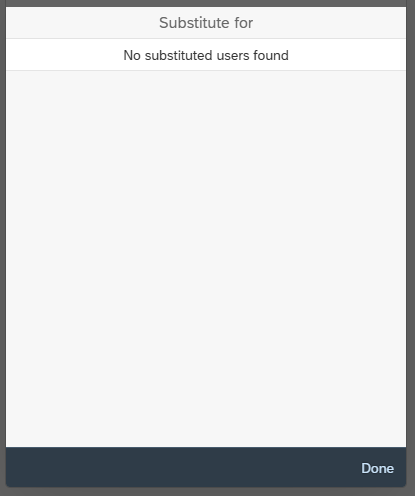
As an unplanned substitute, you can transfer tasks to your inbox by clicking the switch marked in red in the example below.
If you no longer wish to have tasks transferred, turn off the same switch.

Click on Done to save.
Contact
Do you have questions about the content of this page?
Contact our customer service centre
- lonn [at] dfo.no (lonn[at]dfo[dot]no)
- (+47) 40 63 40 21