This guide explains how managers (GK2) register substitute remuneration in the DFØ-app for an employee who will be acting on behalf of someone in the unit.
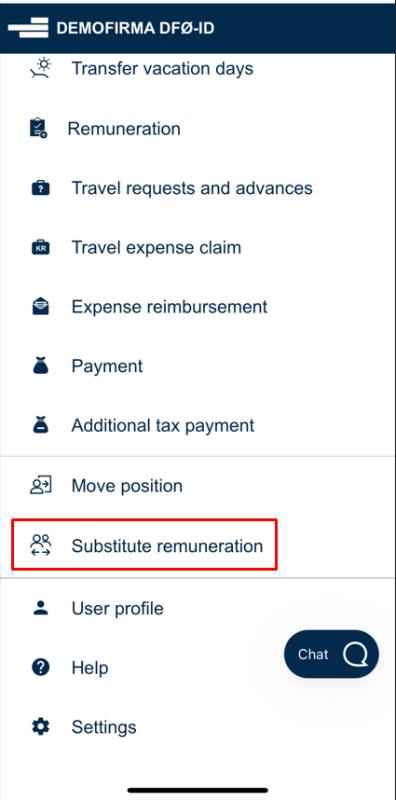
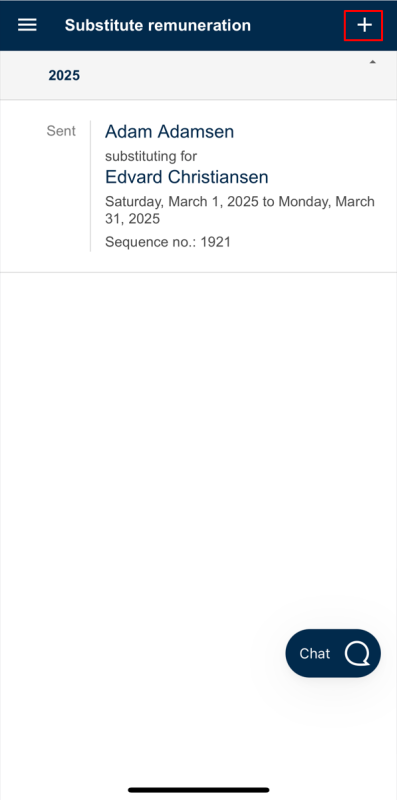
To register substitute remuneration, press Substitute Remuneration in the main menu of the DFØ app. You will then see a list of all sent, approved, and returned substitute remunerations.
Register substitute remuneration
To create a new substitute remuneration, press the + sign at the top right of the screen.
If you click on one of the existing substitute remunerations, you will open the registration. There you can see more details or make changes.
Select period
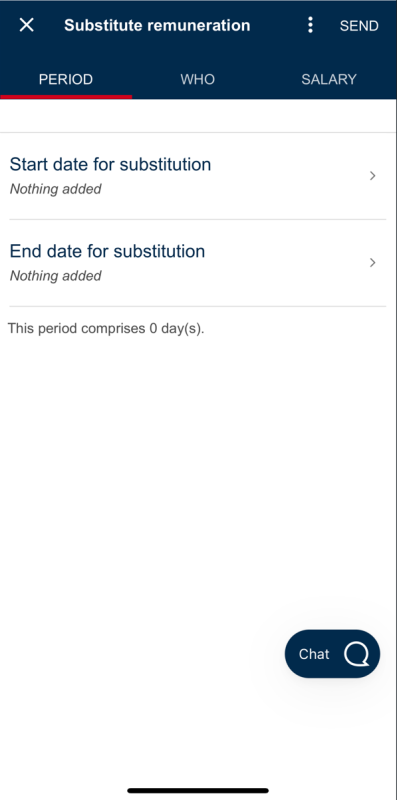
When registering a new substitute remuneration, you must first fill in the information under Period.
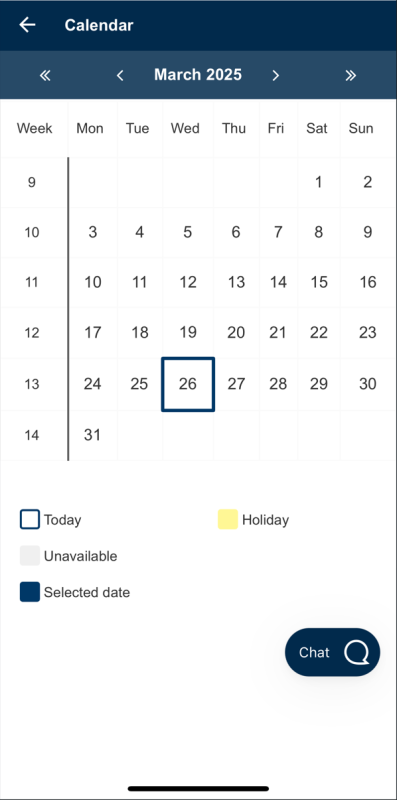
Here you specify both the start- and end date for the remuneration, which you can easily select from the calendar.
Once you have registered the time period for the substitute remuneration, you will see a list of employees who are available on the selected dates.
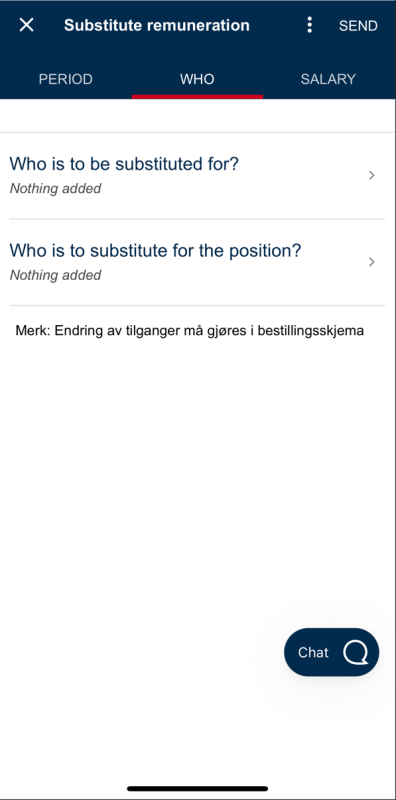
Then you need to add who will be acting in the position and who they will be acting for.
Select who will act for whom
Click Who in the blue menu bar at the top.
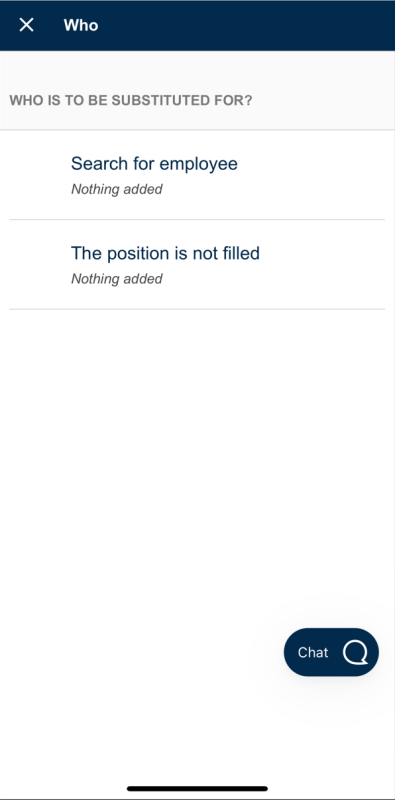
In the top field, you can choose among employees or select acting for an unoccupied position.
When searching for employees, you will only see the employees you have access to. Here, you can search by name, position, and department.
If you choose to search for an employee, you will enter a new screen where you can search for all employees in the entire organization. Please note that searches will be logged.
Substitute remuneration for an unoccupied position
If you select The position is not filled, you must enter information about which position and department the employee will be acting in. This information is automatically forwarded to the approver, so the approver can find the correct position in the payroll system.
Use this function if the employee, for example, will be acting for someone who has resigned. You will not find the resigned person in the app, as they are not active in the payroll system.
Select cause
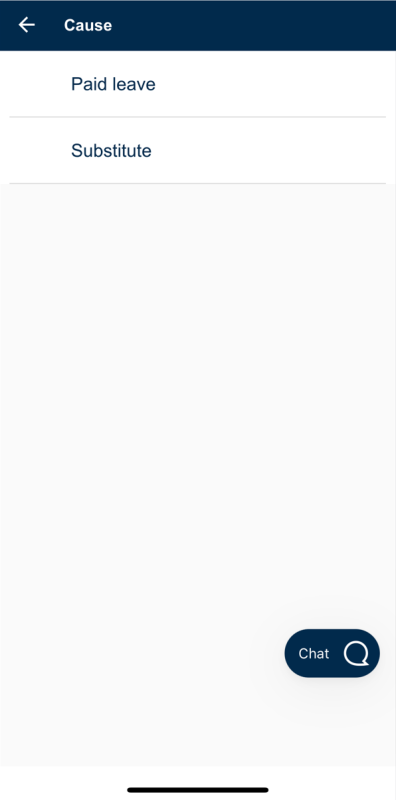
Once you have selected an employee in the previous step, the app will open the field for the cause for acting. Press the field and enter the cause why someone will be acting in the position.
If you register substitute remuneration for an unoccupied position, the cause field will not appear. The payroll system already has the necessary information for correct registration.
Order new accesses
Changes to accesses must be made in the order form.
If the employee needs temporary changes in roles and accesses to DFØ's systems during the acting period, you can order this in the customer center online (Kundesenter på nett).
Select payment
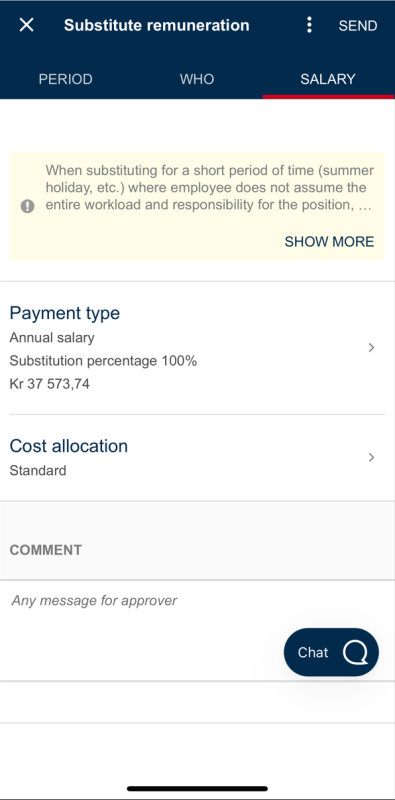
Here, your organization can have a custom text explaining your payroll routines. If you wish to add text here, ask your payroll employee to send a support case to DFØ.
In the main payroll screen, you can change cost distribution and add a comment to the approver if you wish.
To enter the type of payment for the acting period, press Payment.
You will see five different payment options.
If you need help registering the salary, press I want HR/payroll to enter the salary. Then you will send the form forward without filling in the salary.
When HR/payroll has entered the amount, the task will return to your inbox so you can approve it.
Please note that the salary per start date for the acting period is displayed. In case of any salary adjustments, the organisation must decide whether the acting period should be changed, depending on the organisation's guidelines.
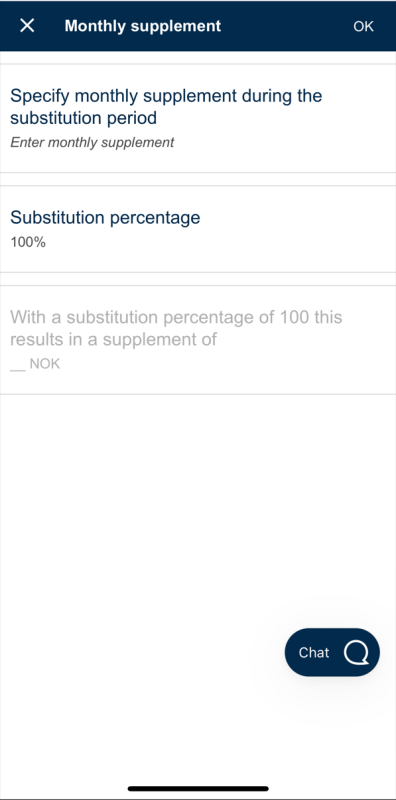
In each payment option, you can enter the substitution percentage.
Example: If you enter a monthly supplement of NOK 10,000 with an acting percentage of 50%, NOK 5,000 will be paid out.
Process returned task
Delete form
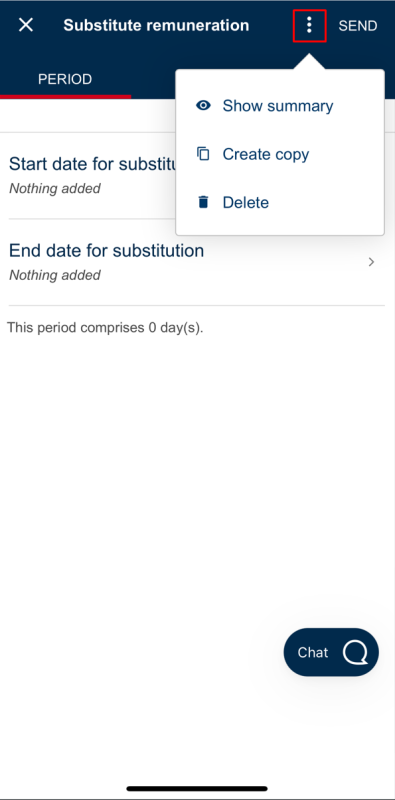
To delete a returned form, go to your inbox. Click on the relevant form. Then, click on the three-dot menu at the top right and select Delete.
Return form
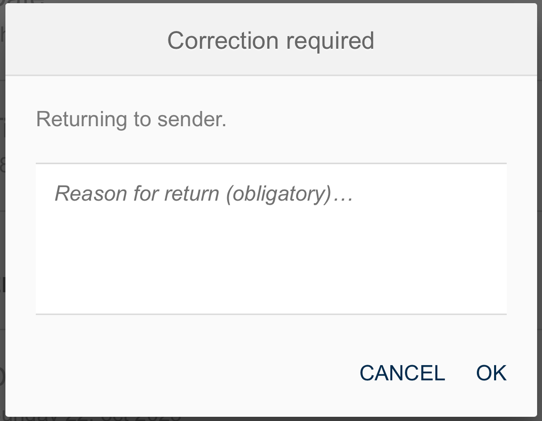
If you have made changes to the form that need to be re-approved by Approver 1, you must return the form. You can do this by clicking on the arrow at the top right.
Approve form
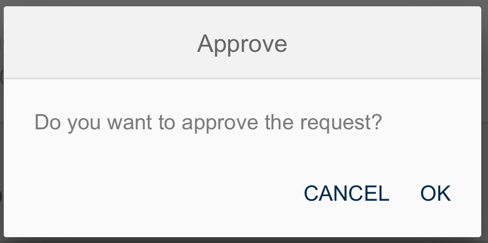
To approve a form that has been returned by Approver 1, click on the relevant form. Check that all the information in the form is correct and click on the checkmark at the top right. A prompt will appear asking if you want to approve the form. Click OK to approve the form.
Contact
Do you have questions about the content of this page?
Contact our customer service centre
- lonn [at] dfo.no (lonn[at]dfo[dot]no)
- (+47) 40 63 40 21

